Print (Ctrl+P)
The Print command here opens the Print Graphics dialog which allows you to select a printer and customize other print settings.
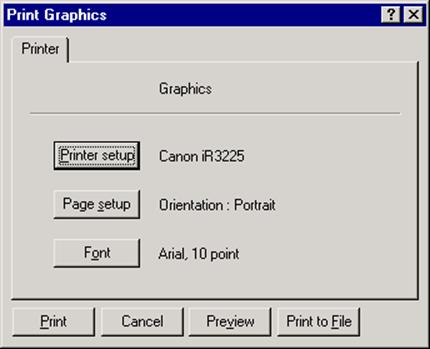
Printer
On the Printer tab, you can setup the printer and the graphics print page as well as select the font for printing graphics.
The font you select here is different from the Font selected in the Graphics Font dialog under the Options menu. The Font command here sets the font for printing only, whereas the Font command under the Options menu sets the font to use for Graphics display only as explained earlier in this manual.
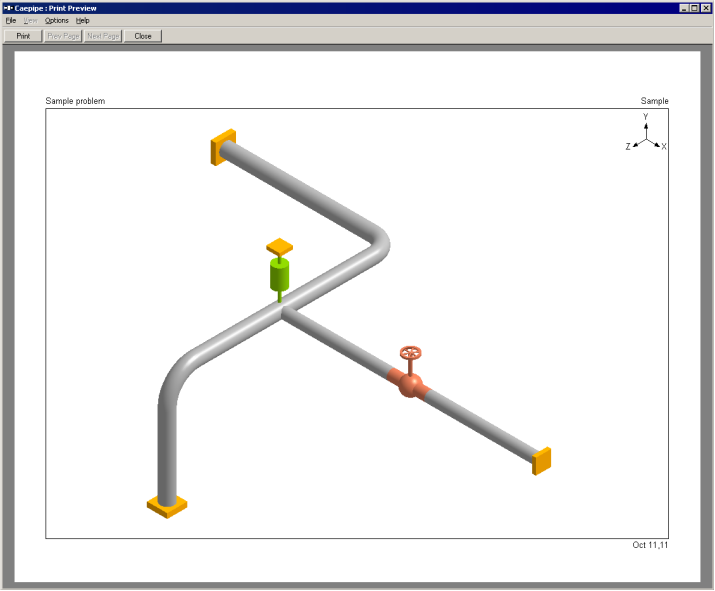
Preview
Before you print an image, you can preview it by clicking on this button.
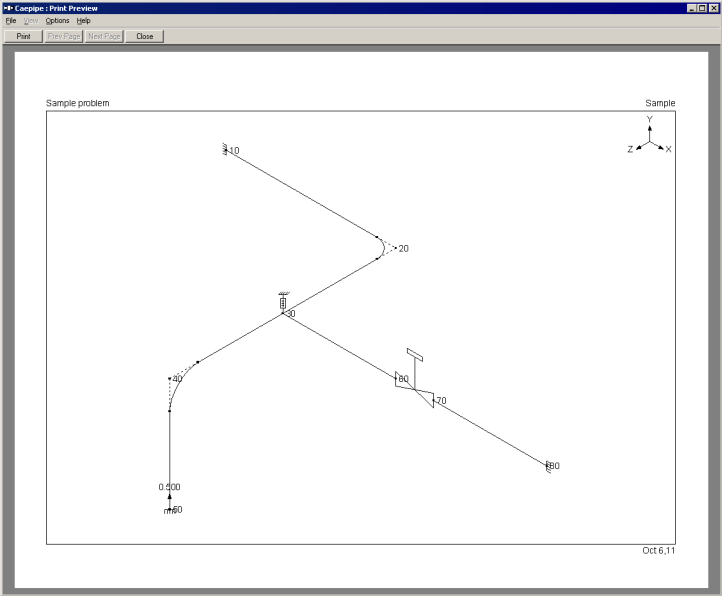
While in the Preview mode, click on Close to return to the Graphics window or click on Print to send the job to the printer.
Print to File
This can be a useful command to convert the line drawing (vector) graphics to other vector formats such as Encapsulated Postscript (EPS), Windows Enhanced Metafile (EMF), AutoCAD’s DXF or HPGL’s PLT. You can specify a filename for the graphics file. CAEPIPE can also convert other vector graphics such as non-rendered stress and stress ratio plots, deflected and mode shapes to the above vector formats.
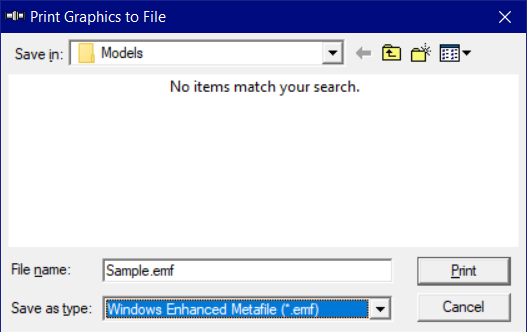
Note on DXF output
CAEPIPE sends only the model information including the line drawing into a DXF file in different layers. It does not send any results (like stresses or deflected shapes) to a DXF file.
Print Dialog for OpenGL Rendered Images
For rendered images, you will see a different Print dialog. Here, as in the earlier Print dialog, you can select a printer and customize certain print settings. The resolution and image background can be set, too. A black background will consume more of your printer ink.
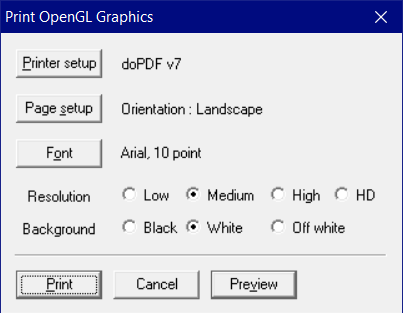
Setting the resolution to High (300 DPI) or HD (1200 DPI) might take up a lot of system memory and slow your system down. Should such happen, use the Low (100 DPI) or Medium (200 DPI) setting.
Preview
Preview the OpenGL graphics rendering by clicking on this button.