Print (Ctrl+P)
This is a comprehensive command that lets you print all model input and computed results. This dialog has five tabs and six buttons.
Model
On this tab, check those input data items that you would like to print.

Load cases
On this tab, check the different load cases for which you want to print results.

Results
On this tab, check the different results items that you want to print.

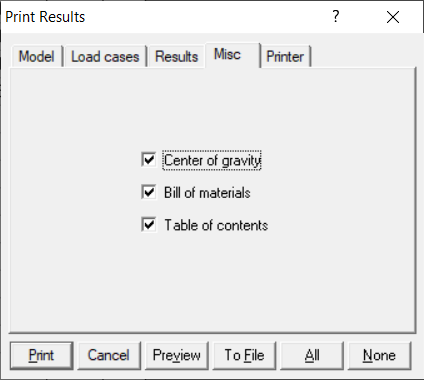
Misc
On this tab, select the items of interest that you want to print.
Printer
On this tab, you can customize your printer settings such as selecting a different printer, setting different margins, and the print font. By selecting a custom Adobe Acrobat-compatible printer (if available on your system), you can generate an Adobe PDF (Portable Document Format) file that contains the whole model input and output.

Print Dialog Buttons
Print
After selecting the items you want to print, click on Print button to send output to the printer selected under the Printer tab.
You can click on Cancel to exit the dialog without printing.
Preview
Before printing, you can preview how the printed output will appear by clicking on Preview. If necessary, you can adjust the printer settings (under the Printer tab) to change the print font and margins, and preview again.

To File
If you want to send all of your selected items (input and results) click on the To File button.

You can export the data to a .txt file or to a .csv file.

Here's an example of what the .csv file looks like with the exported data (reading from a spreadsheet software).

All
To select all items, click on the All button.
None
To deselect all items, click on the None button.