INSTALLATION
The full version of CAEPIPE is supplied with either of two protection schemes viz Hardware Protected Key or a Software Protected Key. For both the Hardware Protected Key and Software Protected Key versions of CAEPIPE, installing requires two steps:
1. For the Hardware Protected Key, install the hardware key driver or for the Software Protected Key install the SST License Manager (SSTLM).
2. Install the CAEPIPE software.
Follow the Installation Instructions provided by SST Systems, Inc. via email as the CAEPIPE setup files for the Hardware Protected Key and Software Protected Key are hard coded to the specific serial number assigned to your company.
CAEPIPE with Hardware Protected Key
The Server machine hosts the CAEPIPE license via USB Hardware Protected Key and can also have CAEPIPE software installed. This machine can be any computer connected to a network.
1. Download the “Sentinel Installer (exe)” or “Sentinel Installer (zip)” file using the link https://www.sstusa.com/support-mes.php to the server machine where the CAEPIPE USB Hardware Protected Key will be residing.
2. Double Click on the executable and follow all instructions to complete the installation of the hardware key driver.
3. Insert your hardware key into the USB port.
4. On the server machine, configure your firewall to allow all In-Bound and Out-Bound network traffic on UDP Port 6001. Please visit our SuperProNet Firewall Configuration page for more details.
5. Download the CAEPIPE setup file (.exe or .zip) from PEXit, using the installation instructions provided by SST Systems, Inc. via email.
6. Unzip the downloaded file. Double Click on "Setup.exe" to open the installation menu.
7. Identify the client machine(s) and Install CAEPIPE by following all instructions to complete the installation.
8. Create NSP_HOST environment variable to connect server machine hosting CAEPIPE license via Hardware Protected Key to the client machine. Please visit our NSP_HOST Configuration page for detailed instructions on how to do this.
CAEPIPE with Software Protected Key [SST License Manager (SSTLM)]
1. Download the SST License Manager (SSTLM) from PEXit, using the installation instructions provided by SST Systems, Inc. via email.
2. Unzip the downloaded file. Double Click on “Setup.exe” to open the installation menu.
3. Follow all the instructions to complete the installation of SST License Manager.
4. For a Network configuration, on the server machine where SSTLM is installed, configure your firewall to allow all In-Bound and Out-Bound network traffic on TCP Port 12000. This also needs to be done on any client machines where CAEPIPE will be installed.
5. Download the CAEPIPE setup file (.exe or .zip) from PEXit, using the installation instructions provided by SST Systems, Inc. via email.
6. Identify the client machine(s) and Install CAEPIPE by following all instructions to complete the installation.
7. Create SSTLM environment variable to connect server machine hosting CAEPIPE license to client machine(s). Please visit our configuration page http://www.sstusa.com/sstlm-variable.php for details on setting this variable.
8. Create SKIPIP environment variable, if needed and set the value to "YES”. This is typically used on laptops where CAEPIPE might be used in a different network environment with a different TCP/IP address (i.e. at the office/at home/on a project site).This should also be used if your machine (where SSTLM is installed) is configured to obtain the IP Address automatically from a DHCP server, then user should disable the feature of checking the IP Address by defining an environmental variable with name “SKIPIP” and setting its value as “YES”. Please visit our configuration page http://www.sstusa.com/support-install2.php for details on setting this variable.
For more details on installing the driver for the Hardware Protected Key or installing the SST License Manager (SSTLM) for the Software Protected Key scheme, please refer to the documentations that are available at the link http://www.sstusa.com/support-install.php.
Installing CAEPIPE
To install CAEPIPE, double click on setup executable.
You will now see the following interactive screens one after another in which you will have to answer the usual installation questions. Respond appropriately.

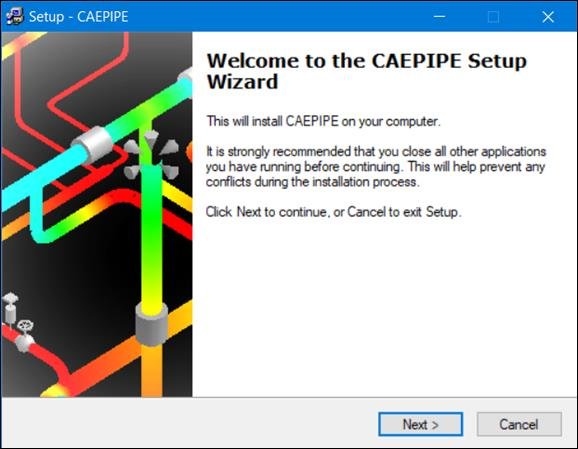
Click Next to continue.
You must accept the terms of the License agreement by clicking on Yes before proceeding.
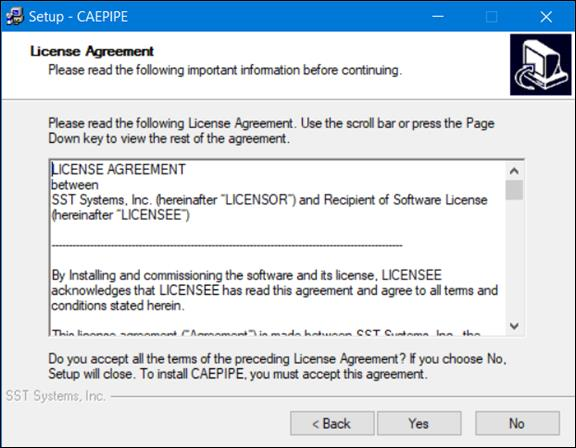
A copy of the license agreement (PDF file) is available on the distribution.
We recommend installing the software to the default folder shown during installation. If you have previous installations of CAEPIPE, it will be helpful to name the Start menu folder differently for the new version (e.g., 1200 for version 12.00).
Once you have picked your choices, you can now begin to install by clicking on “Install” button or use the “Back” button to return to previous screens to change your choices.
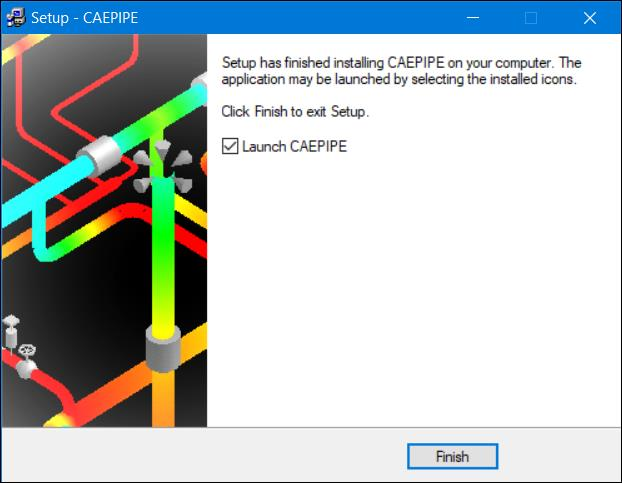
After installation, you can execute CAEPIPE by double clicking on the Desktop icon or by selecting CAEPIPE from the newly created CAEPIPE folder on the Start menu.
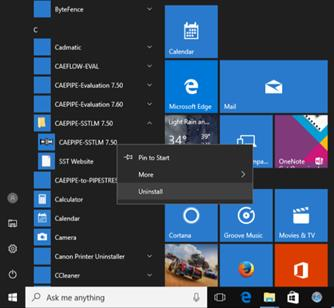
To uninstall CAEPIPE from your Windows 8 and Windows 10/11 computer, select the option “Uninstall” through Start > CAEPIPE > Mouse right click on CAEPIPE executable as shown below.
To uninstall CAEPIPE from your Windows versions earlier than Windows 8, select Uninstall CAEPIPE from the CAEPIPE folder on the Start menu.